Here is my list, I decided I wanted to try out some of the Reluctant Trained (for all the non-Flames people this just means they are quite poor troops) lists from the Blood Guts and Glory book, which is meant to represent the actual Loraine battles. So I went for an infantry company to give it a shot and see what would happen. The biggest negative of these lists is actually not the poor morale, but the fact that the support they can get is actually quite lacking and or poor. There are no recon options, or good artillery, or rocket artillery, so choices that way are very limited.

So I went with 3 Infantry Platoons, and the lists has all of them with Panzerfaust anti-tank launchers by default, a Heavy Platoon to get some mortars and heavy machine guns, a few anti-tank guns, and then Panthers. The Panthers represent almost half of my points so they were the big choice to go for or not. I was expecting to face Shermans in some for, with them trapped across the moselle Panthers would be perfect!
Serge decided to use a British force from Overlord since he doesn't have Americans, and went for the beach landing infantry with infantry backed up by crocodiles (heavy tanks with flames throwers), a breaching group, and artillery, so not many Shermans and the perfect force for smashing through defenses. To make matters worse the Crocodiles have a very high front armor so even Panthers can't really destroy them from the front.
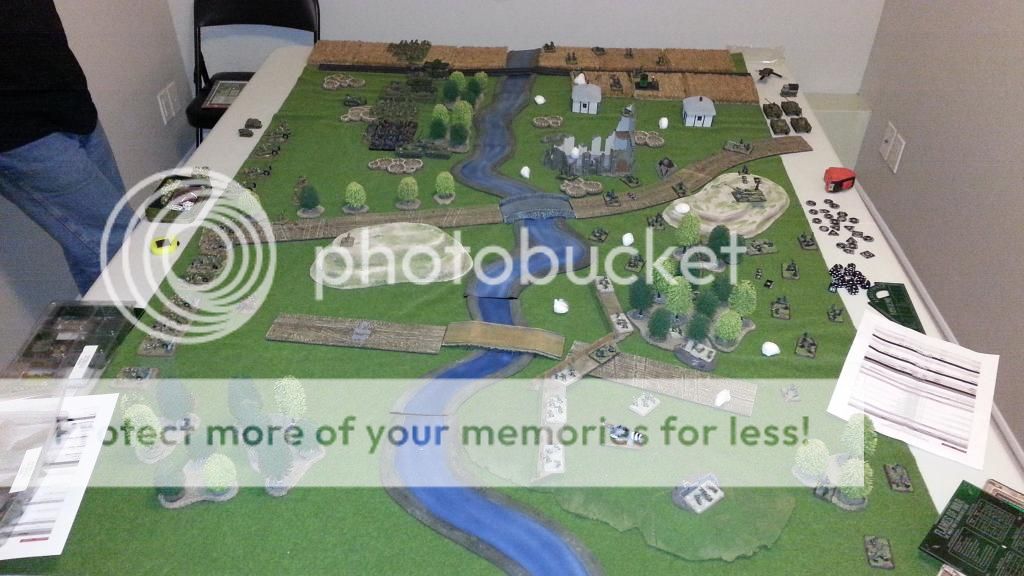
So here is an early picture, we decided that Fighting Withdrawal would be a good one for this, and that is my favorite mission. I deployed Infantry all across the table, anti-tank guns along the hill, and Panthers in ambush. For Firestorm troops I got an Infantry platoon and some defenses which I put along the bottom here. The major questions for me where wether I should oppose the crossing or not, and whether to spread out to take less damage from artillery and flames, or bunch up to more effectively prevent assaults. I decided to spread out and onlu weak defend most of the crossings.
The british made all their major attacks on the top part of the board from this angle. So the press began. In Fighting Withdrawal the (me) has to periodically withdraw platoons (starting from turn 3 if you ahve 5 or more), and at turn 6 and 7 I can remove the objectives placed by the attacker (top and bottom), but the one placed by me in the middle has to stay.
In turn one the British fired allot of smoke to obscure line of sight, hoping to screen the Panthers, and advanced forward.

On my turn I just put 1 infantry stand on the rail crossing to block the crocodiles from crossing for 1 turn, but knowing it would die.

The British pressed forwards, killed that stand, and a few others with artillery. On my next turn I deployed my panthers from ambush into the fields and fried on the Churchill AVRE tanks from the breaching group and took them out.
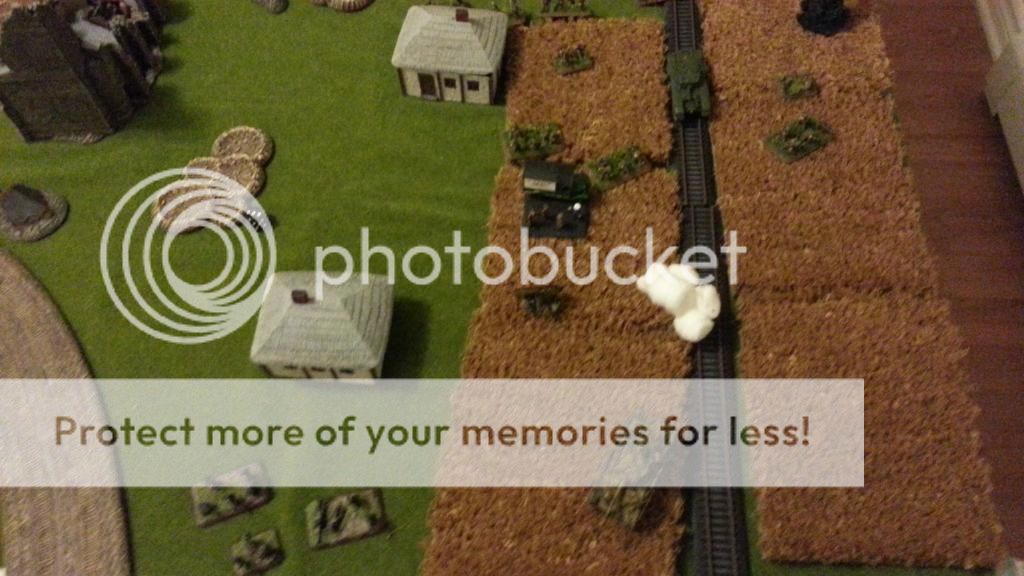
 |
| Looks dangerous from the German perspective |

After this I had to withdraw my first platoon, so I took the infantry here that was reduced down to ineffectiveness, but a controversial choice since they were the ones one the key objective!

On my turn that panther managed to unbail despite having low morale and I advanced to take a few side shots on the crocodiles while I had a chance. This was fairly successful and I got two thirds of them, but the last passed his platoon morale. Unfortunately my tanks were now bunched up in a dangerous position and they failed their storm troop test so were unable to pull back into safety.

The British pushed a bit in the center with the rest of their breaching group, and bombarded the infantry I was bringing across to support the objective. In the main event the heavy artillery destroyed half the Panthers, and the last flames fired on the other two, not doing any damage but preventing their defensive fire allowing a nice assault. The British got no kills in the first round of the assault and I broke off into the field. This was the end of turn 4, so all I need is something to contest the objective on the start of turn 6, and I will the be able to remove this objective as part of the German withdrawal preventing the Allies from capturing it.
On turn 5 thou the British killed another Panther and my commander with an artillery bombardment, and took out a few stands from my re-enforcing platoon with a second attack. This meant that both of these platoons would have to make morale to stay on the table, unfortunately being reluctant they both failed and ran, so I just missed out on being able to contest the objective. This meant the British could capture it at the start of turn 6 just before I could remove it! So very close game.
In the end I was really feeling the lack of support with this company, but I feel it would have been fine if not for the crocodiles! I also want to try out the reluctant trained Panzer IV company some times. But I think we will have some Samurai action next week.
Thanks;
Mike
No comments:
Post a Comment